One of the sad truths about photography is that it’s expensive, there are always going to be more lenses and filters on the market than you can afford. Good news, I can help!
Kit is designed with three purposes in mind. It’s easy to use, looks cool and gives a specific result. If you don’t mind a little more work and getting a few odd looks you can save yourself a fortune and still get great results.
1. Make your own macro lenses
One cheap alternative to a macro lens is to join two standard lenses together. I know this sounds a little crazy but by using your kit lens and one other you really can make a macro lens. All you have to do is reverse your second lens and attach it to the lens on your camera.
Now officially you join both lenses together using a coupling ring but if you’re careful you can get away with sticks, pencils and tape. The second lens I chose was a manual lens from a thrift store costing only £10.
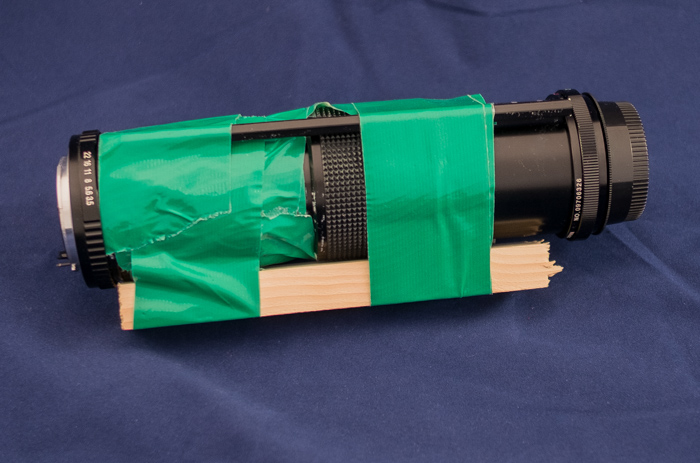
I accept the lens doesn’t look pretty and is a bit fiddly to assemble but it did save my bank balance.
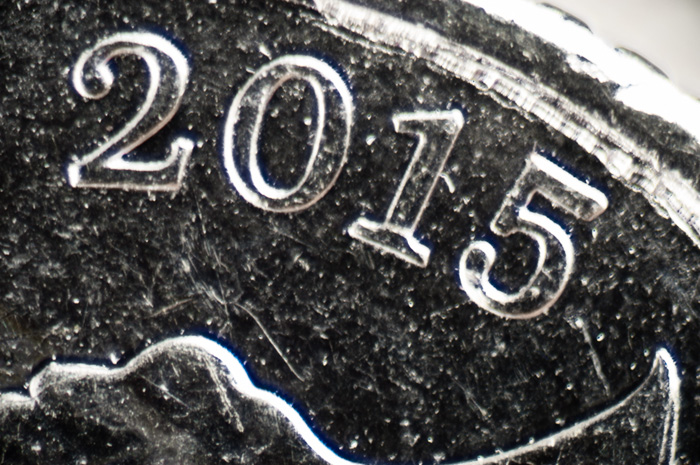
This shot was taken with the above lens, yes the one with the sticky tape. It shows all the detail of the date stamp on a coin.
You can be flexible when choosing lenses but if you want to be precise it is possible to calculate the new magnification. If you’d like to do the math then here goes.
You can be flexible when choosing lenses but if you want to be precise it is possible to calculate the new magnification. If you’d like to do the math then here goes.
Magnification = the focal length of the camera lens divided by the focal length of the reversed lens.
2. Shaped apertures
All you need is a piece of card with a suitable shaped hole in it. You’ll get the best results with a simple shape cut into the center of a piece of card. Secure this over the end of your lens and off you go.
Make them small and set the camera’s aperture wide and with a bit of experimenting you can get just the bokeh you need.

I used a small craft punch to make a heart shaped aperture ring to take this photo.
3. Make you own soft focus filter
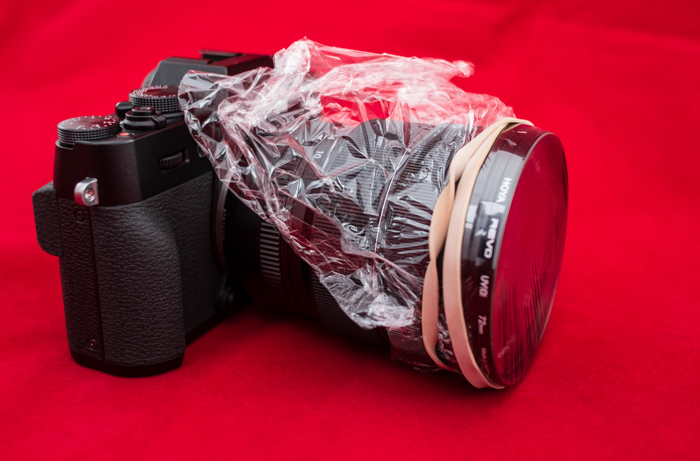
O.K I know you can create soft focus effects with software but this trick is great fun. Wrap your camera lens in plastic wrap and secure with a rubber band. Now spread a little Vaseline lightly on the plastic wrap and take your photo. You can experiment with where to apply the Vaseline to get some great effects.
4. Create a Pinhole lens
You can go back to the roots of photography by making yourself a pinhole lens. Drill a decent sized hole in the center of your camera’s body cap then tape a piece of aluminum can over it. Pierce the aluminum with a pin making sure the hole is in the center and that’s it!

You’ll need long exposures but it’s going to be the simplest lens you’ll ever own. One word of warning though – make sure the cap is completely clean with no plastic shavings on it before you fasten it to your camera.
5. Make your own flash gels and colored filters
Professional grade gels to alter the colour of your light are expensive and often a bit too stiff to be bending to the shapes you need. My advice is to eat chocolate. Now eating chocolate is always a good plan but this has a purpose, choose chocolates wrapped in colored cellophane wrappers. These colored wrappers make a great substitute for expensive gels.
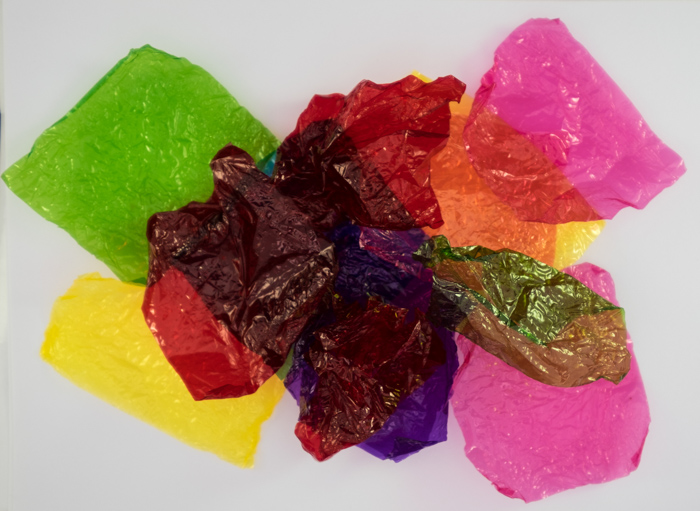
You can use them over your flash or over your lens depending on the result you want so have fun, get creative and experiment.
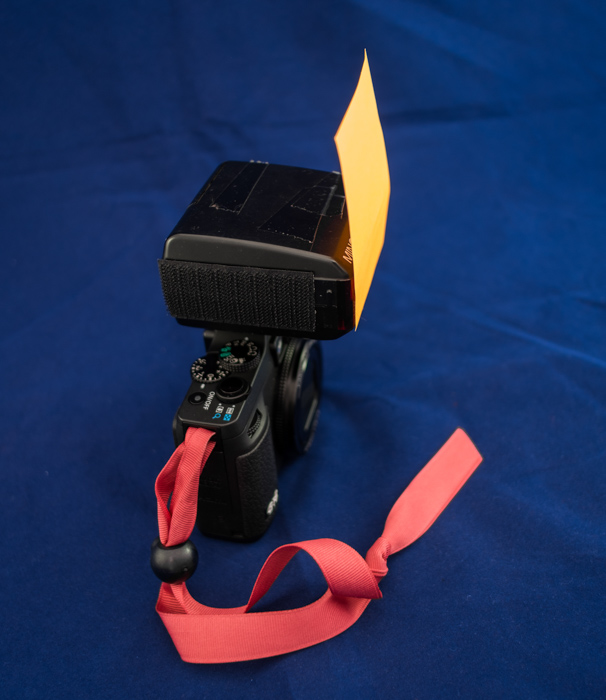
Another instant colour change for your flash is the humble sticky note, they’re self-adhesive and offer a good wide choice of colours.
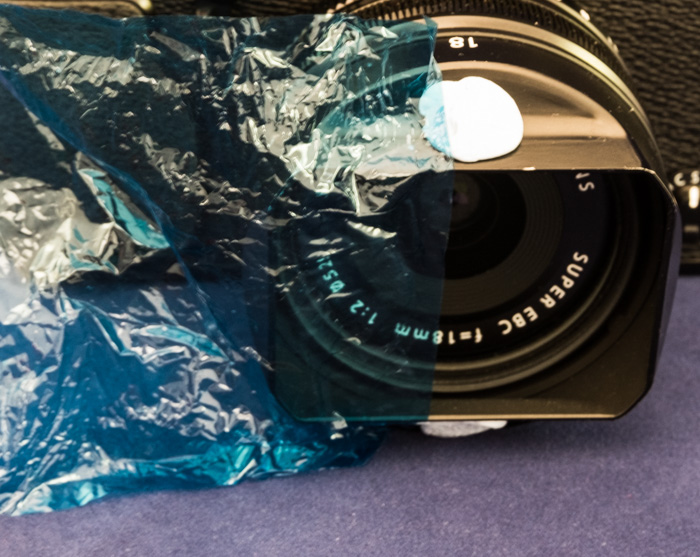
You can use a blue candy wrapper to improvise a split colored filter and boost the colours in just part of your frame. Yes, I have used blu-tac to hold the wrapper in place, it comes away clean without marking the lens hood.
Finishing up
Of course we would all like loads of lenses, filters and apertures. But with a little knowledge and a willingness to have a go you can save money and create exciting shots.


This all looks fun but I wish you had shown us the results you get when doing these things. I’m probably not going to poke a hole in a body cap unless I see a picture that makes it worth doing. Same with some of the other idea.
That is a great idea! I’ll reach out to the author and see if we can add some of those :)
Hi Leslie.
The coin was shot with the macro lens in the shot above it and the picture of the heart shaped bokeh was taken using a home-made aperture. I’ll take a shot with the pinhole lens as well as seeing what I can come up with regarding the coloured gels and sticky notes.